Showing posts with label jewelry. Show all posts

Saturday, January 4, 2014

CANTO I. In-Progress - Part 3.

Here we go - I'm taking this through to completion...


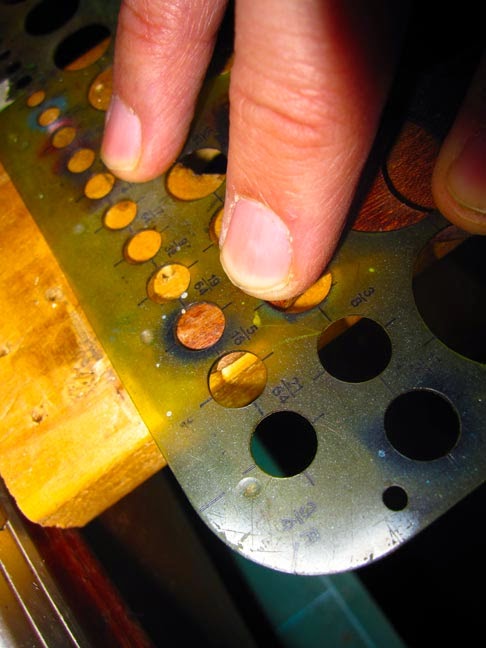
I'd like to mount a tiny gemstone into the body of the mirror - this small steel pocket watch gear will become the bezel, and so is annealed in preparation.

  
The hole is drilled...


...and the gear riveted into place with a tiny amethyst on either end.


Now a sharp left turn here as I develop a hanging mechanism for the left side of the pendant. The old glass and brass pin is netted in waxed linen thread and two 'selvagee straps' are created. These are tiny cousins to the sailors' rope rings used for various tasks aboard a vessel. I like the visual shock of a softer material harnessing all the metal and glass.
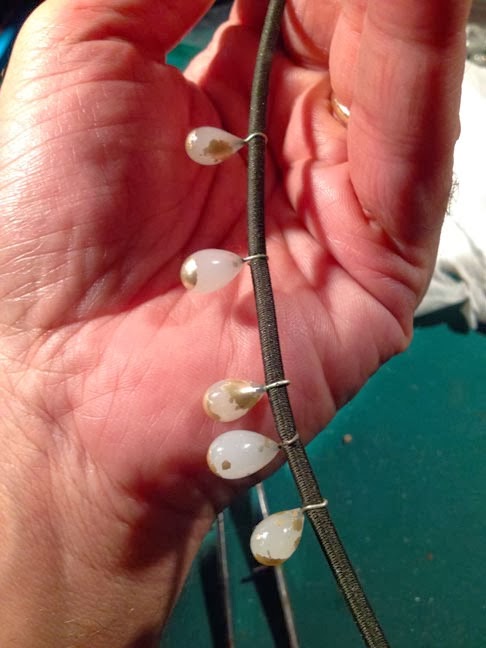
   
A recent find of a trove of very old glass costume drop beads comes into play here, as I crimp them into the long lengths of 1940's elastic cord that will act as the hanging material.


The other end will have a clasp of sorts (a feature certainly not needed, due to the long cord, but one I like to incorporate when feasible).


The cords are riveted into the keys.


Final connections are made. The key and waxed linen talk to each other, each speaking their own language.


The last of the glass beads are affixed, and the piece is complete.

This has closed out my 2013 and set the stage for more exploration in the coming months.

For CANTO I purchasing information:


For the complete set of images of CANTO I:
 

Thank you for coming along for the ride!
 

Saturday, December 28, 2013

CANTO I. In-Progress - Part 2.

Welcome back! Work continues on this unusual structure, which as you can see, now sports a name...

To mount an attachment to the left side of my scissor handle, I need to anneal the steel first, as it is quite hardened tool steel.


 This beautiful and very old glass-topped pin is chosen as my attachment. I've owned this little object for twenty-five years. Feels nice to bring it to bear now.


Drilled through and inserted into the scissor. I love the angle.
 

The pin is curled around very slowly and is now a useable connection to the pendant.
 

 To make tiny eye-pins to attach chains to my mirror structure, I carve little 'hand-wrought' style nails.


Chains are added and the general form works for me. It has a great movement.
Attention turns now to the wooden mirror itself.


The silvered backing is selectively removed to allow my imagery to be framed by the mirror surface.


The 'paddle' end is pierced to allow a two-sided visual. 


I select as a facial image an engraving of 19th-century British philosopher Jeremy Bentham. A fascinating man in his own right, but memorable for many years to me for his request that his body be dissected and then presented as an 'Auto-Icon', where it sits today. You can read all about him here and see an interactive 360˚ view of the Auto-Icon here.
 

If I've been able to lure you back from your macabre detour, the mirror is prepped.
 

The title for the piece is now chosen, as I've got a pretty rounded-out vision of what is coming together. 'CANTO I.'


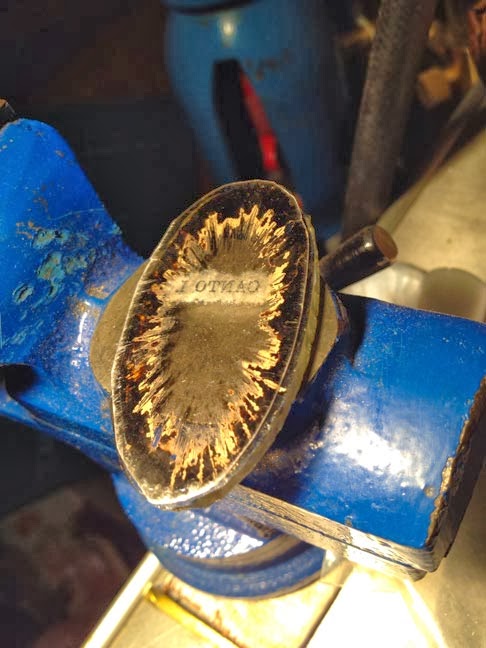
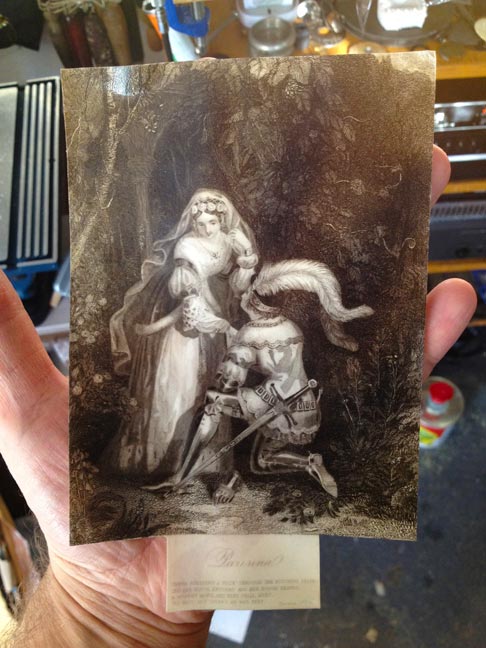
Preparing the back of the mirror 'stack', here choosing an early 19th-century patent-application engraving and adding my signature to be seen from the back of the piece.


Mica is cut as the back window of the stack.


As the stack of glass, image and mica come together, I make one of those wild-card decisions that make me trust my intuition.


 The mirror is lightly scored and cracked in two places. To my delight, the tiny fragments of silver dot the area under the eye like tears.


Time to drop the mirror structure into the bezel of brass.


The tabs are delicately pushed over the wood, with a thick pad of felt underneath to protect the glass elements as well as the wood, which is quite brittle with age.


The pendant portion of the piece is now, except for one detail I'm about to add, complete.

Join me one more time as I work out a typically unorthodox method for hanging the pendant. Thanks for joining me!


Tuesday, December 10, 2013

CANTO I. In-Progress, Part 1

Hello and glad to be back in the step-by-step mode of bringing you with me into a new piece.


The kick-off is this miniscule Victorian wooden hand mirror, most likely made as a doll's accessory. I've been nurturing this object for a long time and its time has finally come.


I love the upside-down orientation, so that's where my instinct starts me.

Time to remove the mirror.


 Now I'm setting about cutting a small hole in the bottom of the handle and making a glass lens to fit.


This glass was melted in my kiln and will now be used as the lens.


 Cut down, tapered...


...and polished.


My next major element is brought in - a 1940's brass coaster with the glass center removed. I cut the ring to enable me to shape it.


After deciding to form-fit the coaster brass to the mirror, I set to work.


So far, so good. Slow work.


The forming finished and soldered together, I can now turn to working out how to further modify and join them.


I'm going to make tabs that will fold around the wooden mirror, which will also serve to greatly reduce the depth of the piece.


Roughed out and ready to be finessed. At this point I'm thinking about hanging possibilities, while it's still in a rough state.


This fantastic steel-and-brass scissor handle is cut down and will make a perfect asymmetrical top to the pendant.


The right side chain is anchored to the brass body. The form is really taking discernable shape.

Join me next week to see where I'll take it. Comments are welcome!

Ciao!

Keith


Wednesday, July 25, 2012

Happy 6th Birthday, Folio!


Here's a spiffy new video teaser to celebrate the first published catalog survey of my artwork.
Keith Lo Bue's Folio Edition documents work from each year of making, from 1989 to 2006, In 24 full-color plates. Lavishly packaged in a sleek matte-black embossed folio case. Measuring 6" x 8.25" (21 x 14.8cm), each plate has a postcard back listing information about the work.

Rounding out the publication is an eight page booklet of notes and anecdotes about the selected pieces, providing a rich perspective on the artist's creative methods and thought processes.

The folio in addition is equally at home on your shelf of art books, for giving as a gift, or for sending individually as large postcards.

On this, the sixth anniversary of the folio's publication, the price has been cut in half from $50 to $24.99. To order:

http://www.lobue-art.com/books_dvds.html

Music in this trailer generously provided by Akira Rabelais: http://www.akirarabelais.com/

Monday, June 4, 2012

Reflections, In-Progress - Part Three.

Hi all - let's pick it up where we left off in last post. This will see us through to the finish of a very meaningful piece for me to make.


 A precious fragment of Early 19th-century map is attached to the back of the opaque glass, to be viewed through the fabricated binoculars lens I made.

 The "jewel" to occupy the center space through the lens is this fantastic multicolored beetle specimen, from a collector in the Northern Territories of Australia circa 1975.


 Testing it out under the lens, it becomes a beautiful focal point to this side of the piece. Here the bronze resin assembly has been patinated dark and as yet has not been polished to bring the metal out in the surface.

Pearls are mounted in the holes at the top and bottom and the assembly is attached to the body of the compact. 

All is left to set and dry, so I have a few days to put my thoughts elsewhere. 


I now turn back to the original clear resin panel I made right at the beginning of this project, with Maureen's baby hair embedded in it. I had fused two pieces of glass with her image, and turn to the second unused image in order to make what I think will be a companion to the neckpiece. 

Cutting away the glass I don't need with my ring saw. 

After beveling and shaping, it's ready to go. 


I settle on this very large diameter antique pie plate as the body of what I'm sure now will be a brooch.

Getting out my aggressions with the rawhide mallet.

A chamber now lies in waiting for my fused glass photo. 

A pin back is riveted in place.


In an odd lapse of routine, this is the last in-progress photo of this brooch being made... It can be seen completed via the link at the end of the post. Apologies!


Back to REFLECTIONS.


 A stunning early steel engraving is chosen to occupy the niche I ground in the clay pipe.

 It was glued into a mid-19th century scrapbook - so here it is being soaked off the large page.

 Separated and ready to remove the part I need.

 Her face is mounted to the back, and a "lens" of resin gives her face a dreamy detachment.

 Turning to signing the artwork, I prepare to etch my name and date in a small recess at the bottom of the neckpiece.

 Carefully inscribing my name.

 ...and ready to be etched.

The pendant and chain complete, I rivet the leather cord into an antique key, which has been modified to become the clasp of the neckpiece. At long last, after many weeks of work, it's complete. 


Postscript: a few weeks after the piece was finished, in early May, it was presented to Maureen's daughter Felicity. I was lucky enough to be able to photograph her wearing both neckpiece and brooch - mother and daughter reflecting each others beauty.  It was a totally moving experience. The modeled photos can be seen after the detail images of the finished objects at the links below.


*******


REFLECTIONS.


and


THE LAND OF DREAMS.


*******


Thank you so much for looking!


Keith