Showing posts with label braids. Show all posts

Sunday, March 17, 2013

In Progress: A Question of Taste, Part 3.

Let's see A Question of Taste through to its completion.

With the body of the piece roughed out, I can turn my sights on making a tiny hanging mobile which will suspend from the fork tines. This one will be made from bronze wire. 

 Readying an element.


 The balance being struck.

 The structure complete. Be sure to join me in my online class in July in making mobiles - Poetry in Motion - to discover how addictively enjoyable it is. (Shameless plug.) More info Here.  Or simply join my Facebook group to get updates about it Here.

After patinating the wire and attaching it to the fork, I go about applying numbers to each of the mobile's paddles.


 I'm using the same page as the lens openings were lined with on the body of the piece.

The numbers being added.

 I drop what I've got done into place so I can have a good look at what's happening. I'm thrilled with the combination of static and mobile elements. Now to find the panel to put behind the mobile.

Running off the piece on a photocopier helps me to design choices at actual size.

 More of the same book cover will be used. This will give the piece a unity from top to bottom, and the decrease in contrast behind the mobile will allow the mobile to sit forward without dominating the composition.


 In place. Now I'll make anchor 'ropes' that will tie onto the two side tines of my little fork. Between the name plate at the top and the thread tying the fork below, it will allow for small movement and increase its strength. Plus, no glue!

 Running the Irish linen through the piece.

Preparing to tie the threads to the fork.

 Now the plate gets screwed into place at last.

 A tiny staple is made to stabilize the handle of the fork and keep it centered on the piece.


 Just about to tap it down into place.

 The original label on the back of the shirt stud box is just beautiful, and offers me the perfect place to sign the piece.

 With the pendant complete, I set about making the cord/chain assembly. No rushing here; I want it to be very empathetic with the piece. I begin by making two very tight and willfilly haphazard kumihimo braids of silk.

 Designing the elements that will bridge between silk and...?

 Readying to cap the kumihimo braids. A fella and his tools.

 One cap complete.

 The other midway through fabrication.
 

The final part of the hanging element is this stunning little fabric drive belt from an archaic machine. I attach it on one end with tiny upholstery studs.

 The chain and cord complete and ready to meet the pendant.

That does it. It's a unique piece in my output, as it didn't rely on previous pieces for reference. Come check out the finished piece Here, or look into purchasing information Here.

Thanks for joining me - see you here soon - and leave your comments below, I do love reading your impressions!

Keith


Tuesday, July 19, 2011

To the Invisible Girl, In-Progress, Part Four - Conclusion.

This fourth part will see To the Invisible Girl through to completion....


After spending so much time on the 'front' of the piece, which is the bottom of the shoe, I flip it over to look into the boot. I find a choko nut case that nestles perfectly into the oval presented by the heel. Note the black velvet in place below it for the glass image on the opposite side.


 16th-century paper to line the nutshell.

 My girl is found, in the form of this lovely little 'gem' tintype.

Shaped and tension-fit - I'm about to do a resin-pour to trap her in the shell with a few other things. I'll also sign and date the piece now by scratching the emulsion above her head.

 A fountain-pen nib in the bottom, resin is poured over it all and the bubbles encouraged to remain.

 Now the split in the leather toe is to be sewn up. Holes are punched...

 ...and sewing commences.


 Tacked into place with glue. When the glue is dry, I will connect it mechanically.

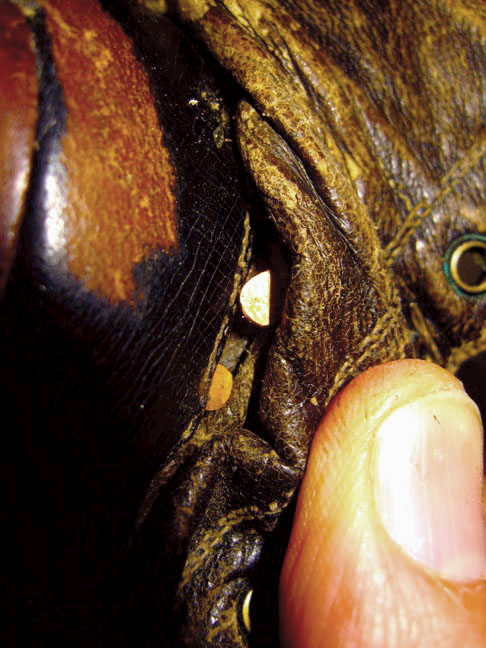
  Antique copper tacks are pushed into creases and crevices.

 The choko is riddled with tacks for a final securing.

 Now a shoelace is about to be woven to anchor the brass name plate, and, at the other end, the hanging element.

Gauging the length as I go.

This is the same old rayon thread used for the neck strap. I love the bright ivory color in contrast to the rich blacks and browns of the boot.

 The hanging elements - old spiral-shank nails.

 Bent, polished and ready to go.

 Finaly, they are sewn into place at the top of the boot.
Resting for a minute on the second side...

My beloved waxed linen tying it all off.

As a link to ascend from the spiral nail, I fabricate spiral links out of 8 gauge square brass stock.

Jump-ring-zilla.

Patinated and ready for use.

 The brass ring makes a good visual lead from nail to Celtic money-ring.

 Now to the last step: the clasp.

 Removing the outer tines.

 And cutting it down.

 Annealing this heavy nickel silver fork is necessary to get it to bend the way I'll need it to.

The initial form.

Creating a waxed-linen ball to adorn the hook's end.

The attaching end is twisted to the side to allow the hook to lay flat against the body. A final polish and the piece is there...


To see finished images of To the Invisible Girl:
Click here


Or, for those with more possessive tendencies:
Click here.


It's been a real journey - hope you've had some fun.
Keith