This is a long one, but I want to get all the way though this time. Grab a cuppa, and join me.
Picking up from my last post, I created a round glass panel with a curious and beautiful wet-plate collodion negative image - here is the original image:
I absolutely
love the photographer's markings on it - having scratched out the inferior exposure, he or she inadvertently lent a power and mystery to an otherwise straight-forward image. After scanning, the image is stretched vertically to allow the composition to adapt to a round format, as well as to tweak it one more step out of a documentary image.
After firing the image to an old piece of window glass, I'm preparing here to drill holes around the perimeter - slightly queasy work, as one wrong move and I'll need two more days to re-make the piece.
Waxed linen thread is tied to the glass now, and will be the material that suspends the panel inside the hubcap.
Ready and waiting.
I'm laughing as I post this - those who know me know I'll go to ridiculous lengths NOT to glue anything. But the occasion does arise! The glue around the lens here will serve a dual-purpose. First, it will seal the front gap between lens and hubcap. Second, and more importantly, I am building a 'moat' so I can pour resin onto the back of the lens and create a tableau between the lens and the fused glass image. The heavy brass wire was carefully pressed into place around the lens, but great care was taken not to add pressure or the lens would chip or crack. The sealant here creates a soft back-up to the wire.

One of those unforgettable gifts comes into play here. I was given this litter of tiny mummified mice by a kind soul during my last tenure in January at the McGregor Summer School in Queensland. She found them in her attic and collected them, though she wasn't sure what for. When she saw me giving my slide lecture, she knew why. I decide to take three of these tiny creatures and encase them in the matrix of resin.
First I give them a new set of eyes: African blue sapphires.
Preparing them for a resin nesting.
Making sure everything's on the level.
Beginning the pour.
The first of four pourings finished. The glue moat around the perimeter is built up each time, to keep above the rising resin. It'll have to be deep enough to completely immerse the three figures.
Next, a line of tiny bones arcs up the center behind the V8 logo. Most of these will be invisible unless the viewer sees the piece from a very oblique angle.
Setting the resin. This image blows up quite large if you click on it.
Before the final pour.
Small cicada wings will be nestled onto the mice, giving their floating presence around the lens some context.
For a moment, I can view the mice backlit by the sun, before the layers are put in place. Note the face in negative on the right.
Preparing to attach the glass panel.
And attached. The thread, stretched taut, suspends away from the front assembly.
A cutaway on the back for hanging.
Cutting a back from plywood.
A host of tubes, soon to be riveted into place in each hole of the board.
Though the image is out of focus here, you get the message. Often, because I'm photographing as I go, if I miss the shot, there's no second chance.
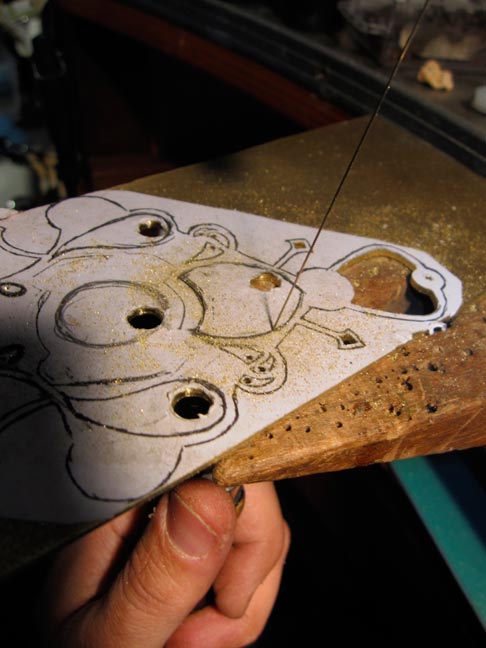
Taking up the rear-most area of the hubcap will be this beautiful brass gate ornament that I've fused glass, brass swarf (look it up!) and a Frozen Charlotte figure into. She'll be facing away from the viewer.
Marking the board for attachment.
The attachment holes drilled and riveted. The tube rivets give great structural strength to the plywood panel.
Steel wire feeding through.
Tyin' one on.
In place and ready to attach to the assembly for its completion.
Fitting the wires to twist them together - quite an awkward procedure.
Do the twist.
At long last - my first glimpse of the assembly through the lens - a good moment. The thick convex lens really offers some surprising and wonderful distortions of the objects behind - if you hadn't seen the elements as you have here, you'd never know exactly what you were looking at. I love that stubbornness to give up secrets.
Signing the back.
Ready to take beauty shots.
Which are
HERE.
Thanks for taking the journey with me!
Keith




 Posts
Posts


